

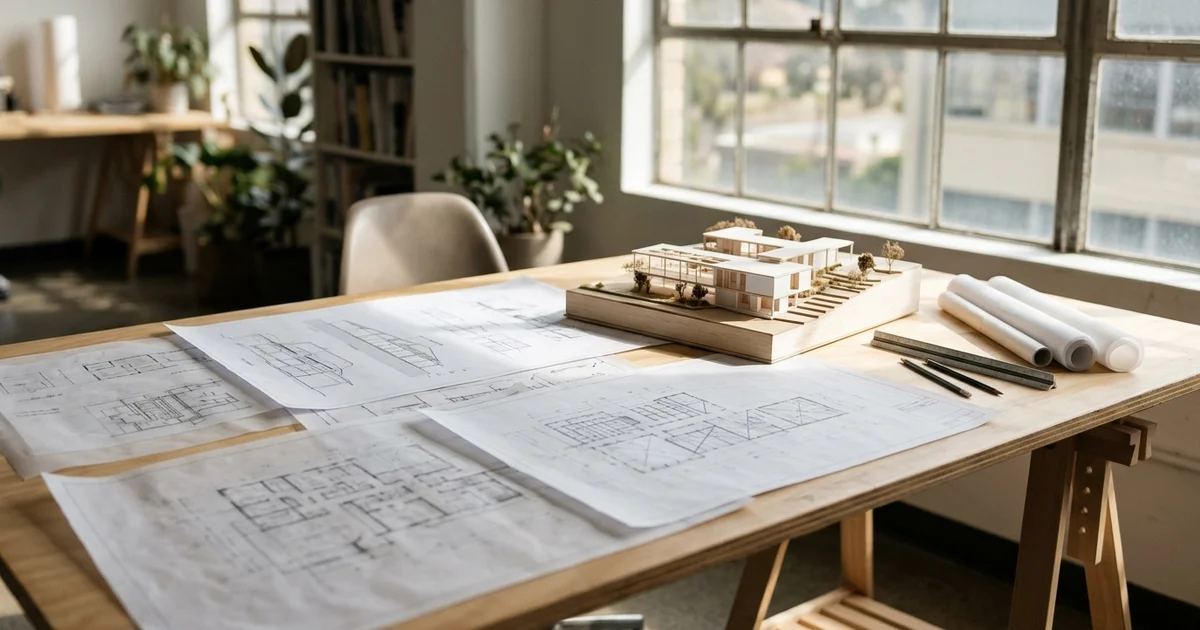
From Lot to Permit Set
The multiplex design process turns a lot and a goal, such as four rentable units, into a set of stamped drawings the city can approve and a builder can price. Done well, it takes about 6-10 weeks and avoids the resubmissions and redesigns that cost owners months. Here is what happens at each stage and what you should receive.
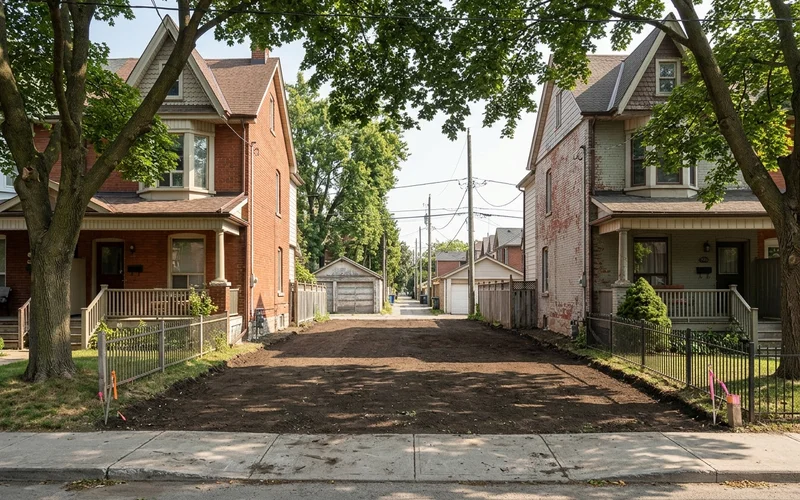
Our multiplex architectural design service follows these stages, with cost estimates at each one.
What makes the difference
Pricing during design. Every concept and every change comes with a cost impact, so the final drawings match the budget instead of surprising it.
Stage 1: Survey and Zoning Review (1-2 weeks)
Everything starts with an up-to-date survey: lot lines, existing buildings, trees, grades and easements. Then we model the zoning envelope under By-law 569-2013 or the local GTA by-law: setbacks, height, coverage, soft landscaping, parking and bike parking. We also screen heritage status, Urban Forestry tree protection and ravine or TRCA limits.
You receive: a buildable envelope and a list of constraints, including any likely variances.
Stage 2: Concept Options (1-2 weeks)
Within the envelope, we sketch two or three options. One might maximize unit count, another unit size, another construction cost. Each shows unit sizes, bedroom counts, entrances and stairs.
You receive: concept plans for each option with a cost range, so you choose with numbers in hand.
Stage 3: Design Development (2-3 weeks)
The chosen concept gets developed: room layouts, window positions, structure, mechanical routing, fire and sound separations, egress and exterior materials. Structural engineering starts here, designed to CSA O86 for wood, and mechanical coordination places ducts and plumbing stacks where they cost the least floor area.
You receive: developed plans, elevations and an updated cost estimate.
Stage 4: Permit Set (2-3 weeks)
The permit set is the complete package for Toronto Building or your GTA city:
- Site plan and grading
- Floor plans, elevations and sections
- Wall, floor and roof assemblies with fire and sound ratings
- Structural drawings
- Mechanical and energy compliance
- Tree protection plan where required
Part 9 sets are stamped by a BCIN-qualified designer. Part 3 sets are sealed by an OAA architect. Our guide on architect vs BCIN designer explains which you need.
You receive: a stamped permit set ready to submit.
Stage 5: SB-12 Energy Compliance
Running alongside stages 3 and 4, the design must show a path to compliance with SB-12, the energy efficiency standard for houses and small residential buildings. That can be a prescriptive package or performance modelling. In Toronto, the Toronto Green Standard also applies. For projects aiming at CMHC MLI Select, energy modelling beyond code can support financing points.
| Stage | Duration | Deliverable |
|---|---|---|
| Survey and zoning review | 1-2 weeks | Envelope and constraints |
| Concept options | 1-2 weeks | 2-3 options with cost ranges |
| Design development | 2-3 weeks | Developed drawings and estimate |
| Permit set | 2-3 weeks | Stamped drawings |
| Energy compliance | In parallel | SB-12 compliance path |
What Can Extend the Timeline
- Heritage review for listed or designated homes
- Committee of Adjustment variance if the design needs one
- Tree protection requiring an arborist report
- Owner decisions that change the concept late
- Part 3 projects, which take more coordination
Design Work in Central Toronto
Central Toronto lots bring every one of these factors: narrow frontages, heritage listings, lanes, mature trees and sixplex permission in the Toronto and East York District. Our Central Toronto design work starts with the envelope because those constraints decide what fits.
How to Prepare for Your First Design Meeting
The design process moves faster and costs less when you arrive with the right information. Before the first concept meeting, gather these items.
- Your survey, or permission for us to order a new one
- Photos of the existing house and lot, including the rear yard and any trees
- Your goals: number of units, who will live in them, whether you will live on site
- Your budget range and how you plan to finance the project
- Must-haves and nice-to-haves, for example an accessible unit, in-unit laundry, parking or a garden suite
- Any history: past renovations, known foundation or drainage issues, heritage status
- Examples you like: photos of buildings or interiors that match your taste
| Item | Why it helps |
|---|---|
| Survey | Drives every setback and height check |
| Photos | Speeds up site analysis |
| Goals | Shapes unit mix and layout |
| Budget | Keeps concepts realistic |
| Must-haves | Avoids redesign later |
| History | Flags structural or drainage work |
Decisions You Will Make Along the Way
During concept, you choose between layouts and unit mixes. During design development, you confirm window sizes, stair positions, finishes level and energy targets. Before the permit set, you sign off on the final layout. Changes after that point are possible but cost more, because they ripple through structural, mechanical and energy drawings. The more decisions you make early, the smoother the permit stage goes.
Ready to Begin
The design process starts with feasibility, which covers stage 1 and much of the information concepts need. When you are ready, start your design with us.