

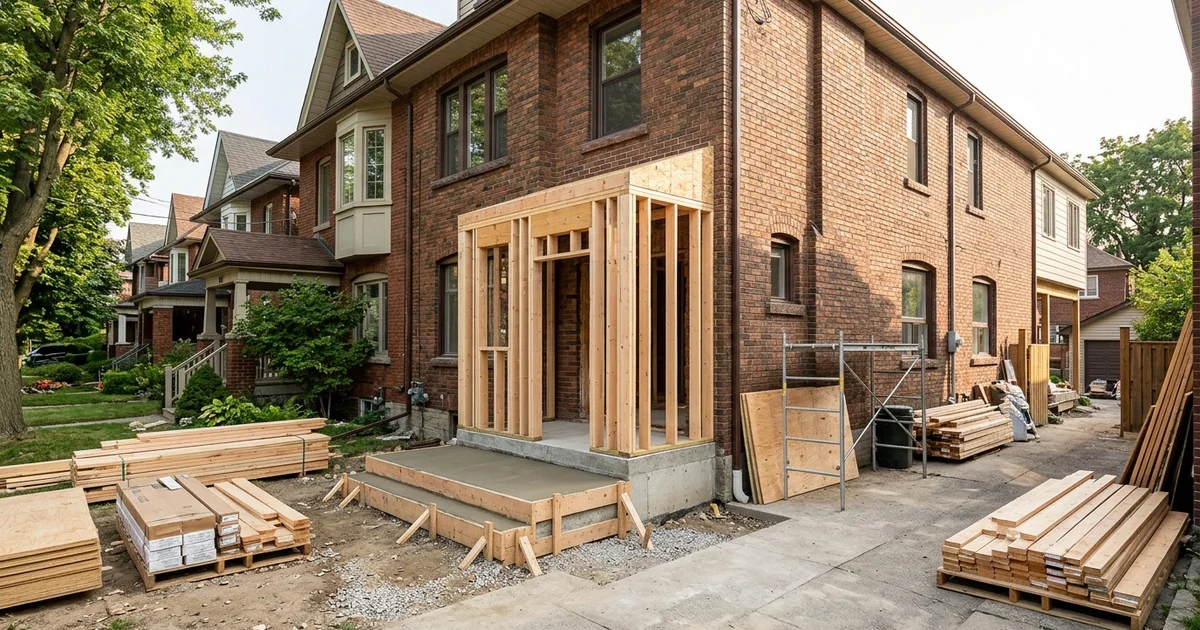
Can Your House Become a Multiplex?
If you own a house in Toronto, EHON allows up to four units on your lot without a rezoning. Converting the existing house, rather than tearing it down, is often the fastest and least expensive way to get there. Knowing how to convert a house into a multiplex starts with one idea: the house has to be made into separate, legal, self-contained homes, each with its own entrance, kitchen, bathroom, fire separation and safe way out.
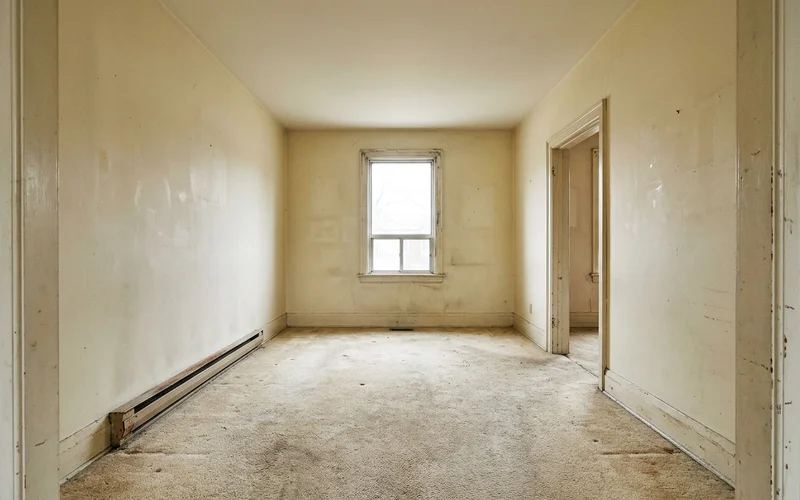
This guide walks through the steps in order. Our house-to-multiplex conversion service delivers all of them under one contract.
No severance needed
A multiplex keeps all units on one lot and one title. Severance divides a lot into separate parcels and is a different, slower process. Owners mix the two up all the time.
Step 1: Zoning Check
Start with what the zoning allows. In the City of Toronto, four units are as-of-right on residential lots, and six in the Toronto and East York District and Scarborough Ward 23 North, though six units in an existing house is rare because of building code limits. Outside Toronto, your city’s additional residential unit rules apply instead. A GeoWarehouse zoning pull confirms the zone and any overlays, and a quick check of the Toronto Heritage Register tells you if exterior changes need Heritage Preservation Services review.
Step 2: Existing-Condition Survey
Every old house hides something. Before design, we walk the house with a structural eye:
- Basement height: can it reach the legal ceiling height for a dwelling unit?
- Foundation: depth, condition and whether underpinning or bench footings are needed
- Framing: joist sizes, past alterations, any rot or sagging
- Electrical: service size, knob-and-tube wiring, panel condition
- Plumbing: water service size and material, drain condition
- Stairs and exits: can every unit get a safe way out?
The survey, together with zoning, tells you how many units the house can realistically hold and what it will cost to get there.
Step 3: Design and Permit
With the unit count settled, design lays out each unit: kitchens, bathrooms, laundry, bedrooms with egress windows, entrances and stairs. The drawings detail the fire and sound separations between units, the new or upgraded services and any structural changes. A BCIN-qualified designer stamps the drawings for a Part 9 building, and the permit set goes to Toronto Building. Heritage review runs in parallel if needed. Permit coordination typically takes 9-14 weeks.
Step 4: Structural Work
Structural work comes first on site. For basement units, that may mean basement underpinning, bench footings or slab lowering to reach legal ceiling height. New openings for doors and windows need lintels and beams. Stairs may move. On semis, shared walls need engineering and notice to the neighbour.
Step 5: Fire, Sound and MEP
Next come the systems that make units legal and livable:
- Fire separations: typically 45-minute or 1-hour rated assemblies with Type X drywall and mineral wool, plus self-closing fire doors at shared spaces
- Sound separations: resilient channel and acoustic sealant to reach STC 50+
- Alarms: interconnected smoke and CO alarms across all units
- Electrical: Toronto Hydro service upgrade and a meter bank or check meters
- Water: a larger Toronto Water lateral, often 25mm or 38mm, with separate shut-offs
- Heating and ventilation: separate heat pumps or zones, and an HRV or ERV per unit
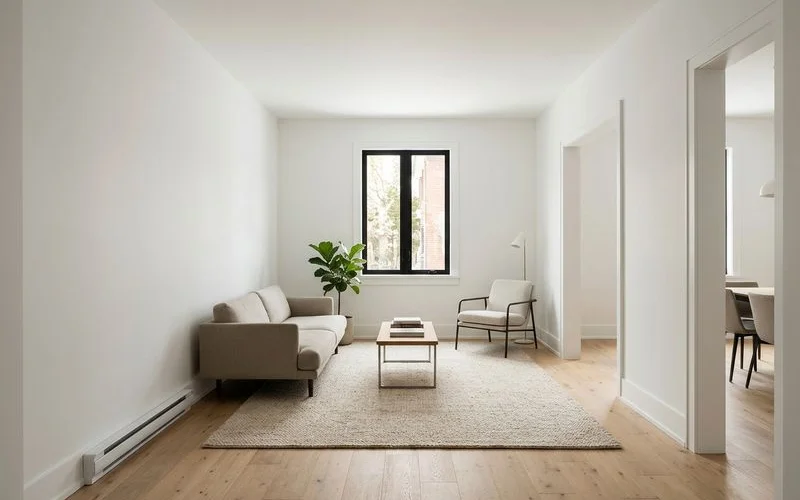
Step 6: Inspections and Occupancy
Toronto Building inspects framing, plumbing, HVAC, insulation and fire separation, and ESA inspects electrical. Once everything passes, each unit receives occupancy. Utility upgrades must be complete by then, which is why we file them at permit stage.
| Step | Typical duration |
|---|---|
| Zoning check and feasibility | 1-2 weeks |
| Existing-condition survey | Part of feasibility |
| Design and permit drawings | 6-10 weeks |
| Permit coordination | 9-14 weeks |
| Construction | 6-9 months |
| Inspections and occupancy | Throughout, final 2-4 weeks |
What Conversions Cost
Conversions typically cost $250K-$900K CAD, or about $220-$380 per sqft. Basement underpinning, the number of units, fire separation work and utility upgrades are the biggest drivers. A two-unit conversion with a good basement sits near the bottom of the range. A four-unit conversion with full underpinning, a new service and heritage review sits near the top.
Common Conversion House Types
- Victorians in Riverdale and Leslieville: tall ceilings and good bones, often heritage-listed, usually a strong triplex
- Wartime storey-and-a-half houses in East York: small footprints, often better as a rebuild or with an addition
- Post-war bungalows in Etobicoke and Scarborough: wide lots, good for a basement unit plus a top-up or rear addition
- Older semis in York: shared walls, low basements, careful underpinning needed
Owners with East York wartime house conversions in mind often face the convert-or-rebuild question early, because the house is small but the lot may carry more.
Mistakes That Cost Conversion Owners the Most
We have seen conversions go well and badly. The difference is usually decided before construction starts. These are the mistakes that cost owners the most.
Designing before the existing-condition survey. A layout drawn without knowing basement height, footing depth or wiring condition often has to be redrawn once walls open.
Treating the basement as easy. Basements decide many conversion budgets. If the floor has to come down, underpinning or bench footings can be one of the largest line items.
Ordering utilities late. A Toronto Hydro service upgrade or a new water lateral applied for near the end can hold up occupancy for weeks or months.
Skimping on separations. Fire and sound separations that fail inspection must be torn out and redone. Separations that pass but leak sound create unhappy tenants.
Ignoring heritage status. Exterior changes on listed or designated homes need review. Finding out after the drawings are done costs time.
Assuming you can live there throughout. Some stages, such as underpinning and service changeovers, may require short moves. Planning that early avoids surprises.
| Mistake | Better approach |
|---|---|
| Design first, survey later | Survey first, then design |
| Basement assumed fine | Test pit and engineer’s advice early |
| Utilities at the end | Apply at permit stage |
| Minimal separations | Tested assemblies, every penetration sealed |
| Heritage checked late | Register check before concept |
| Staying put throughout | Phase the work and plan short moves |
A written feasibility report with an existing-condition walk-through catches most of these before you spend on design.
Your First Step
Every conversion starts with knowing what your house can become. A written feasibility report combines the zoning check and existing-condition survey with a CAD budget range. When you are ready, book a conversion feasibility.